Portrait destinations: the 9:16 crop for TikTok, Reels, and Shorts
7cubit Team
More in News
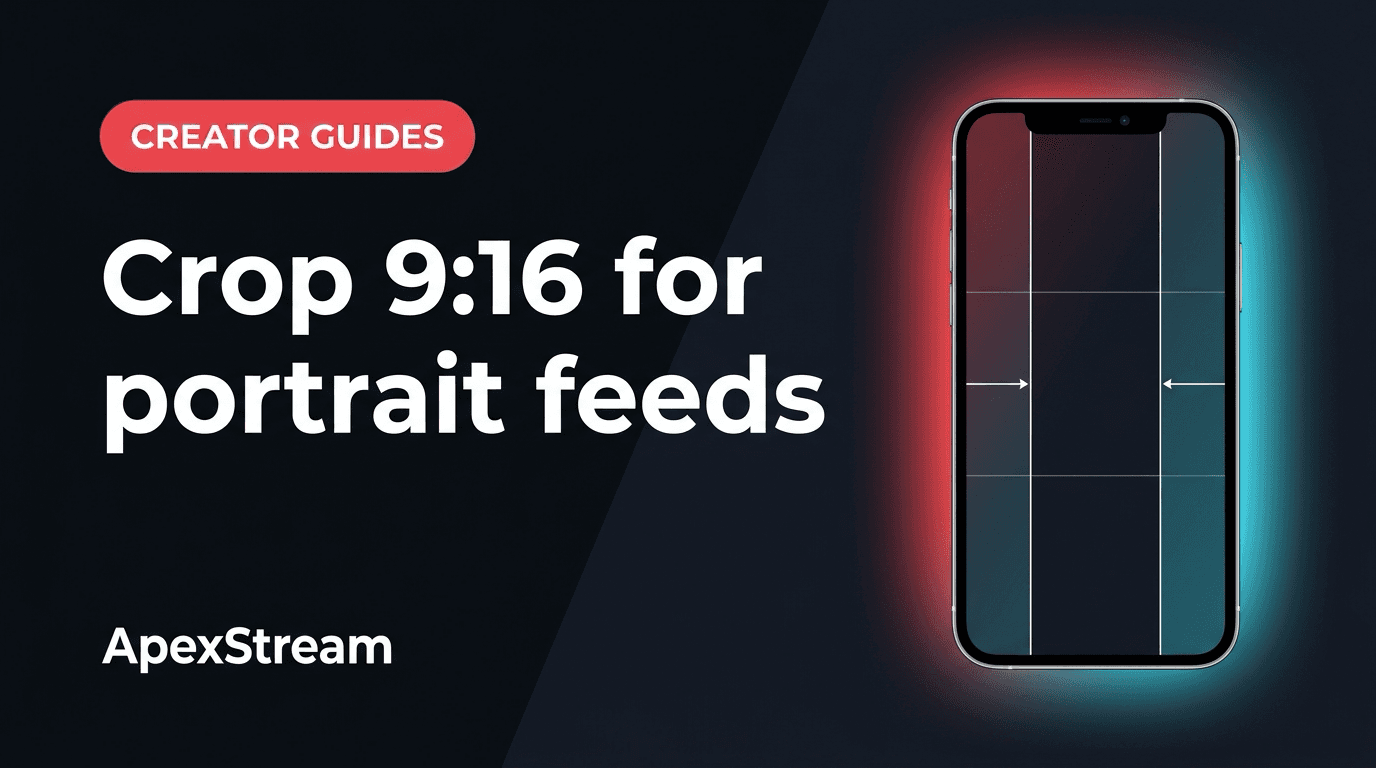
A horizontal live feed can reach a vertical platform, but the framing may look wrong: the subject becomes small, or the important action falls outside the crop. ApexStream supports two different solutions, and the right one depends on whether the whole show is vertical or only one destination needs a vertical output.
Use Web Studio portrait mode for a vertical-first show
If the show is designed for TikTok, Instagram, or another vertical destination, compose it vertically from the beginning. In Web Studio, go to Scenes → Output and select the portrait option. The production canvas changes to 9:16, so camera feeds, overlays, and screen shares are arranged for the phone-shaped frame.
This is available to creators on Free, Hobby, and Creator who want a dedicated mobile-oriented broadcast. You can see the composition while you build it, which is valuable when a lower third or guest layout would otherwise be cut off after delivery.
Use destination cropping for a mixed-format broadcast
Sometimes YouTube or Twitch should receive the full 16:9 show while TikTok, Reels, or another connected vertical destination receives a 9:16 version. Destination-level cropping is available on Scale and Enterprise for that case.
Keep the Web Studio canvas horizontal, connect the destinations, and apply the 9:16 crop to the individual vertical output. ApexStream takes the horizontal feed, makes an automated center crop for that destination, and continues sending the full horizontal frame to the other destinations.
That center crop has a practical consequence: keep the important action near the middle of the original composition. A guest placed at the far edge or a caption built for the full frame may not survive the vertical output.
Design for the crop you will actually send
Do not judge a destination crop only from the horizontal preview. Ask what remains after the center slice: is the speaker’s face still visible, can a phone viewer read the text, and does the handoff between camera and screen share still make sense? If the answer is no, change the horizontal scene or use a dedicated portrait production.
Portrait mode gives you more control because the scene is composed inside the final frame. Destination cropping gives you convenience because one production can serve both shapes, but convenience comes with a framing tradeoff. A centered layout is the safest starting point; a busy edge-to-edge layout needs a test.
Choose based on the production, not the plan name
- Choose native portrait mode when the audience and the layout are vertical-first. Compose every scene for the 9:16 frame.
- Choose destination cropping when one show must serve both horizontal and vertical destinations at the same time and the account is on Scale or Enterprise.
A mobile-first product drop can benefit from native portrait composition. A traditional webinar or gaming stream that also needs a vertical reach may be better served by a centered horizontal layout and a destination crop. The feature cannot recompose information that was placed outside the center; it only changes the output shape.
Test the frame before the real event
Check the crop with the same scene you will use live. Look at faces, screen text, logos, lower thirds, and any product you expect people to see. A short test can reveal that a layout that looks fine in 16:9 loses the speaker’s name or the important slide detail in 9:16.
Scale supports up to eight simultaneous destinations, but more outputs do not make a poor crop easier to watch. Decide which framing each audience should receive, then verify the connected destinations before the show.
Portrait output is a composition decision. Choose the frame before the platform chooses it for you.
Use native portrait mode when the entire broadcast belongs in a vertical frame. Use destination-level 9:16 cropping when the same horizontal production needs a separate vertical delivery path.